ONE STOP SPINE
One stop spine
About
Spine Surgery
Conditional Treatment
Physiotherapy
FAQ’s
Gallery
Contacts
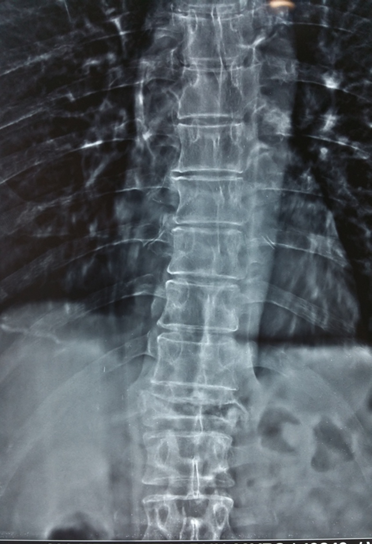
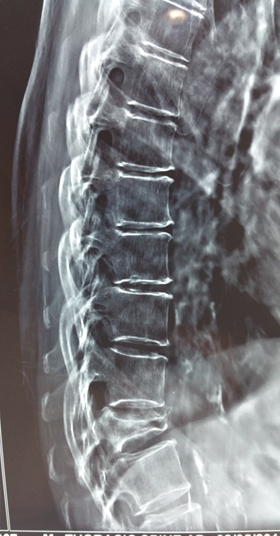
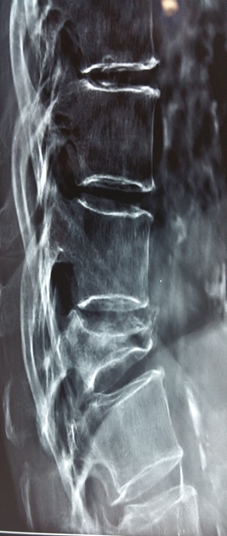
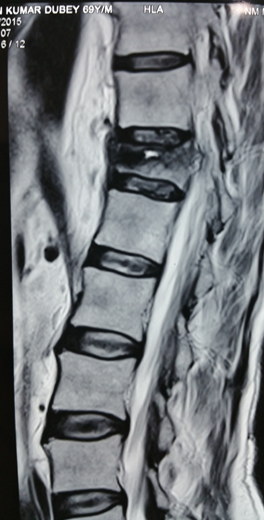
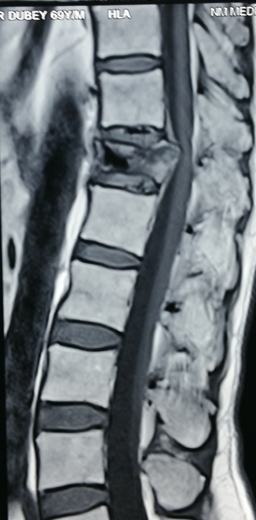
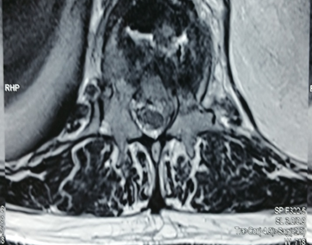
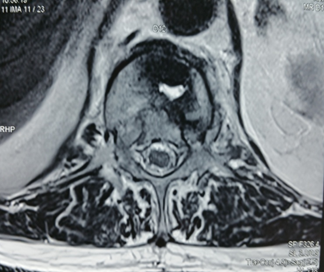
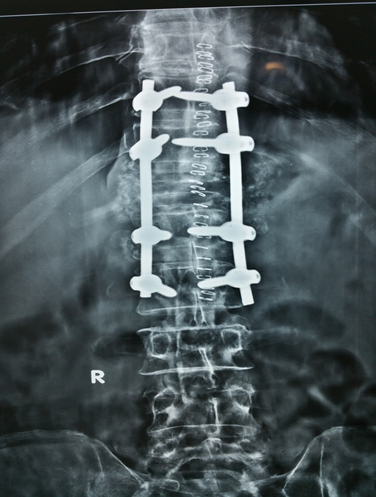
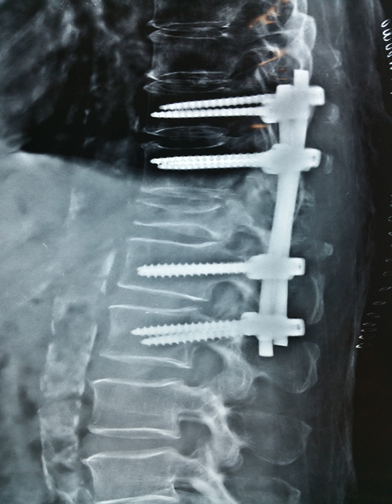
#L1 AND POST OP
Home
/
#L1 AND POST OP
Image Gallery